After training — Review mode¶
Button: Enter Review Mode in the sidebar.
Review mode shows you, one at a time, cells where Model 1 and Model 2 predict different classes (disagreement cells), so you can label them.
Click Enter Review Mode. A Sampling Settings dialog asks how many disagreement cells to review (default 200; the number available is shown). Cells you have already reviewed are not sampled again.
Cells are picked in five tiers, in order. A cell picked in one tier is not picked again in a later tier.
| Tier | Picks | Budget per 256 cells |
|---|---|---|
| 0 — FOV balance | cells from the images with the highest disagreement rate | 84 in total, up to 14 per image |
| 1 — Cell-type disagreement | cells from the classes with the highest disagreement rate | 112 in total, up to 16 per class |
| 2 — Rare cell types | cells from the classes with the fewest predicted cells | 60 in total, up to 10 per class |
| 3 — Preferred confusions | cells from chosen class pairs (e.g. CD4:CD8) |
40 in total, up to 8 per pair |
| 4 — Random fill | random disagreement cells, to fill the rest of the batch | the remainder |
Budgets scale with the number you enter: each is multiplied by (your number ÷ 256) and rounded, with a minimum of 1. There is no control for choosing class pairs, so tier 3 is always skipped.
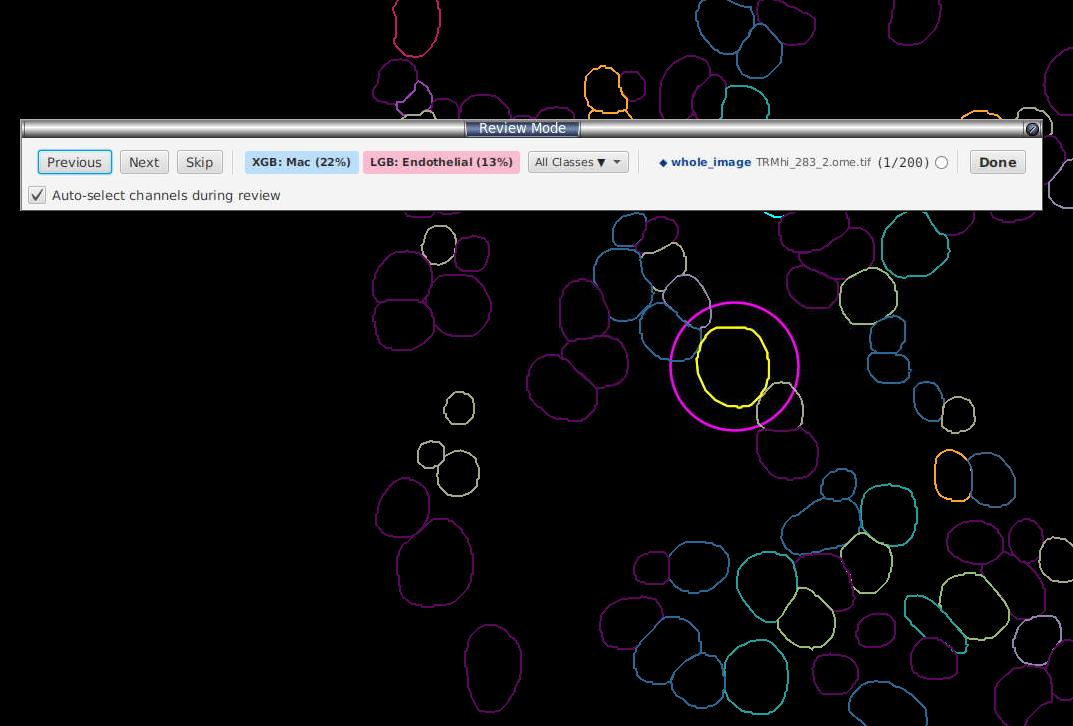
The cell under review has a magenta ring in the viewer. The toolbar shows each model's prediction:
To label a cell that is not in the queue, click it in the viewer. Ctrl-click (Cmd-click on macOS) to select several cells and label them together. The toolbar then shows → clicked cell after the queue position, and the buttons label the clicked cells:
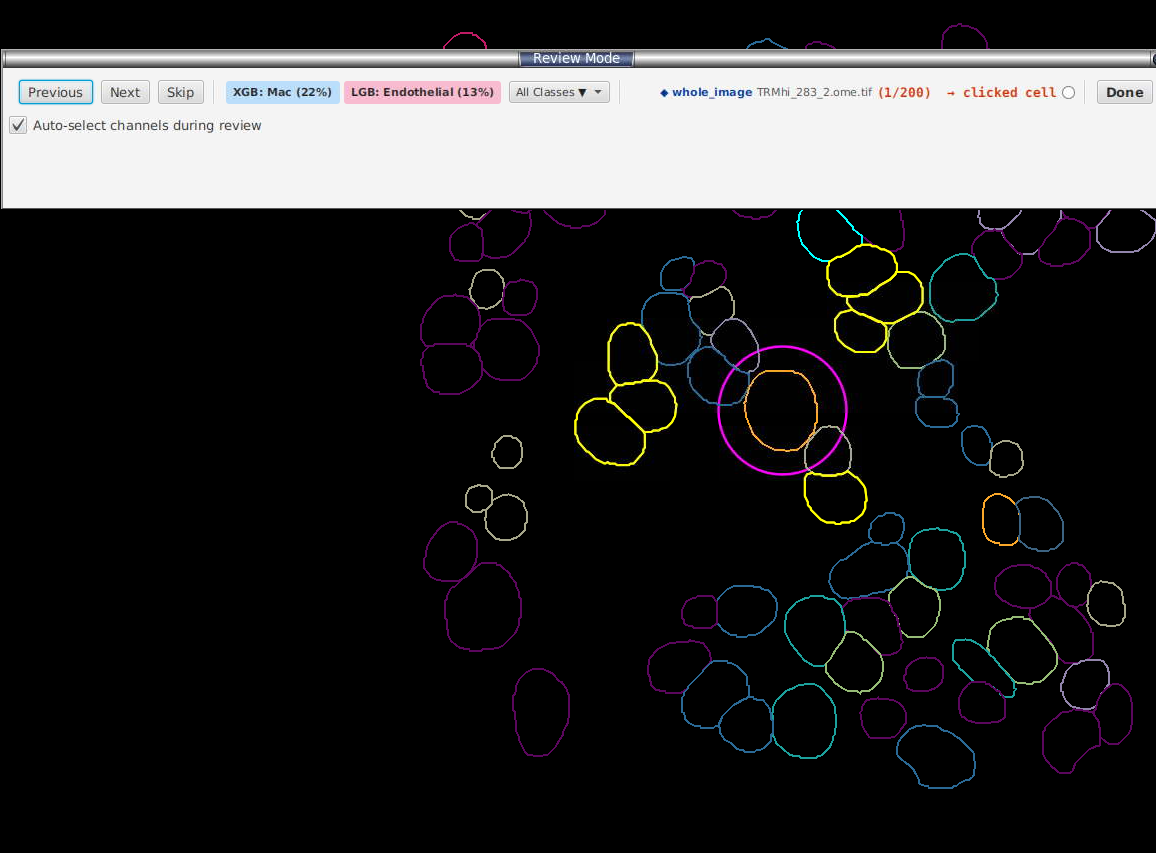
Toolbar buttons during review: - Previous / Next / Skip: move through the queue. - XGB: CD8 (87%) (blue): accept Model 1's prediction. - LGB: CD4 (65%) (pink): accept Model 2's prediction.
Each button starts with its model's type: XGB (XGBoost), LGB (LightGBM) or RF (Random Forest). If both models are the same type (only Random Forest + Random Forest is allowed), the buttons read RF 1 and RF 2. - Both: CD8 (90%): shown instead of the two buttons when the models agree. The percentage is the mean of the two models' confidence. - Avg: Treg (green, no percentage): shown only when averaging the two models' probabilities gives a class that neither model chose. Click it to accept that class. - All Classes ▼: choose any other class. - Done: close review and save your labels.
The toolbar header also shows the names of any annotations containing the current cell, e.g. ◆ Tumour, Stroma.
When you open a different image, its saved predictions are loaded. If it has none, the trained classifier is applied to it when you enter review mode, so you do not need a separate prediction step. Saved predictions made with a different class list are ignored. An image that lacks a measurement the classifier was trained on is not classified, and a warning is shown.
Channel display. If you have set up a channel mapping (§4.4): - Tick Auto-select channels during review to show only the channels mapped to the current cell's predicted class. - Tick Auto-adjust brightness/contrast of shown channels (off by default) to also set each shown channel's display range for each cell. Leave it unticked to keep your own brightness/contrast settings.
Both checkboxes keep their setting after you close review mode or restart QuPath.
Edit channel mapping… (below the checkboxes) opens the Channel Mapping editor. You can keep reviewing while it is open. When you save in the editor, the current cell's channels update immediately.
The status line below it shows what is displayed for the current cell:
CD8T → CD8, CD3: the channels shown for the cell's class.No channels mapped for "X": the class has no mapping. The display is not changed.No channel in this image matches "X"'s mapping — display unchanged(red): the mapping lists channels this image does not have.No channel mapping set — use Edit channel mapping… to choose channels per class.: no mapping has been set up.
After review, click Train again to train with the new labels.